Wednesday, October 29, 2014

Milling Cedar

Recently my wife was contacted by a woman who was interesting in having some cedar trees removed from her property so that she could have a better view of her lake.  Needless to say we jumped at the opportunity because cedar trees make the most beautiful lumber and cedar wood is often sought after by rustic carpenters like myself.  It all sounded too good to be true and we drove out to her property to take a look- upon arriving we noticed large cedar trees (all at least fifty years old) all over the property and the lady wanted all of them to be cleared; the following Sunday we arrived back with a truck bed full of chainsaws and a trailer.  It was time to go to work.

It is very important that when you are cutting trees to be milled that you have a plan for the lumber ahead of time, otherwise you will end up wasting a lot of the wood.  I wanted to make a cedar mantle piece for our fireplace and Liz wanted a cedar table and bench; the rest of the lumber we would sell for profit.  After felling and limbing the first cedar, we took our measurements of the tree before we milled it to determine what cuts we needed to make to maximize the lumber harvested from the tree.

Using a level, we set up the guide rails for the mill to cut the top cant (curved edge with bark) off of the cedar.  This is the most critical step when it comes to milling lumber with a chainsaw because if your first cut is not perfectly flat and level all of the remaining cuts will follow the same pattern and you will wind up with crooked lumber.  It is also important to ensure that when the mill is running down the rails that it is not tiled up on one side because this will also result in crooked and uneven lumber.  After the rails were set up we began milling and the first four slabs of wood were cut for the table and bench.  The wood was beautiful and it smelled amazing as the saw cut through it!  It milled great too and the saw cut through it like a hot knife through butter, resiling in a smooth cut.  Everyone who has seen the lumber jokingly says that it looks like bacon!


Next we milled out our mantle piece and this particular part of the process was a true test of our lumber milling skills because of the compound edge that we had to cut for where the mantle marries to the wall.  Honestly, the Alaskan mill is great for milling out lumber but you really need a vertical mill attachment for the chainsaw to create a perfect ninety-degree angle edge when using a chainsaw.  First, we determined the depth that we needed to set on the mill to reach the heartwood for the mantle and we milled off the first cant; this first milled surface would be the top of the mantle piece.  We then selected which side we wanted to use as the front of the mantle piece.  We chose the side where most of the limbs were so that it would have a lot of character and this side would be left as a live edge.


The front edge was rolled towards the ground as we rolled the log ninety-degrees or one quarter turn.  Holding a level to the flat, milled edge we made sure that the log was perfectly plumb so that the edge facing the wall would be as near to ninety-degrees as possible.  Again, this is pretty difficult using a chainsaw so you really have to take your time to set this up correctly.  Once we wedged the log to keep it perfectly plumb we set the guide rails back on top of the cedar and leveled them out for the ninety-degree cut.  The saw sliced cleanly through the cedar and we achieved a near ninety-degree edge- not bad for chainsaw work!  The log was rolled and milled one more time to create the bottom edge; I set the mill to five inches to create a five inch thick mantle piece.

The cedar that we milled for the mantle piece ended up being approximately ten inches deep by five inches thick by eight feet long and it weighs, I would guess, about one-hundred and eighty pounds. The depth is approximate as I mentioned because of the live edge as it tapers, twists and curves giving it a pretty cool and unique look.  It will be a true one of a kind.  Once the wood is dried it will be sanded and the bark will be removed from the live edge using a draw knife to reveal more of the cedar’s character.


If you enjoyed reading about this project I plan to write more about it as we continue on with finishing process of the mantle piece, table and benches which will probably be after Christmas.  We realize that we haven't written much on the blog in a while but to be honest not much has been going on around the homestead in the past couple of months.  We are ordering our package bees in November and we should receive them in March of 2015 so we will have a lot more about the honeybees next year.  Additionally, Liz and I are discussing setting up a Christmas tree farm on the back two acres of our property so we will have more on that as well.  As always, thanks for reading and I hope this gives you some inspiration for some of your lumber milling projects.

Monday, August 25, 2014

Some Thoughts on Pollination and Honeybees.

As we have mentioned in some of our previous posts, we are going to be keeping bees on our property starting next year.  It’s going to be a lot of work and time consuming but having bees on our property will be well worth it.  The benefits of beekeeping go far beyond having an abundant supply of honey and wax for your homestead.


Currently there is a worldwide honeybee crisis that is not fully understood or even cared about by common folk.  Colony Collapse Disorder (CCD) remains a giant mystery to researchers and beekeepers even to this date and it appears that wild colonies are becoming all but extinct.  I often ask people near where I live if they ever see any honeybees around their crops but most of them can’t recall the last time they have seen a honeybee pollinating their plants.  This is a serious problem because honeybees are the most efficient pollinators; if you keep bees on your land you can see an increase in crop yield three fold!  It has been said that if all of the honey bees go extinct that human life will cease to exist within four years because there will not be sufficient pollination of crops to support the agricultural industry.  

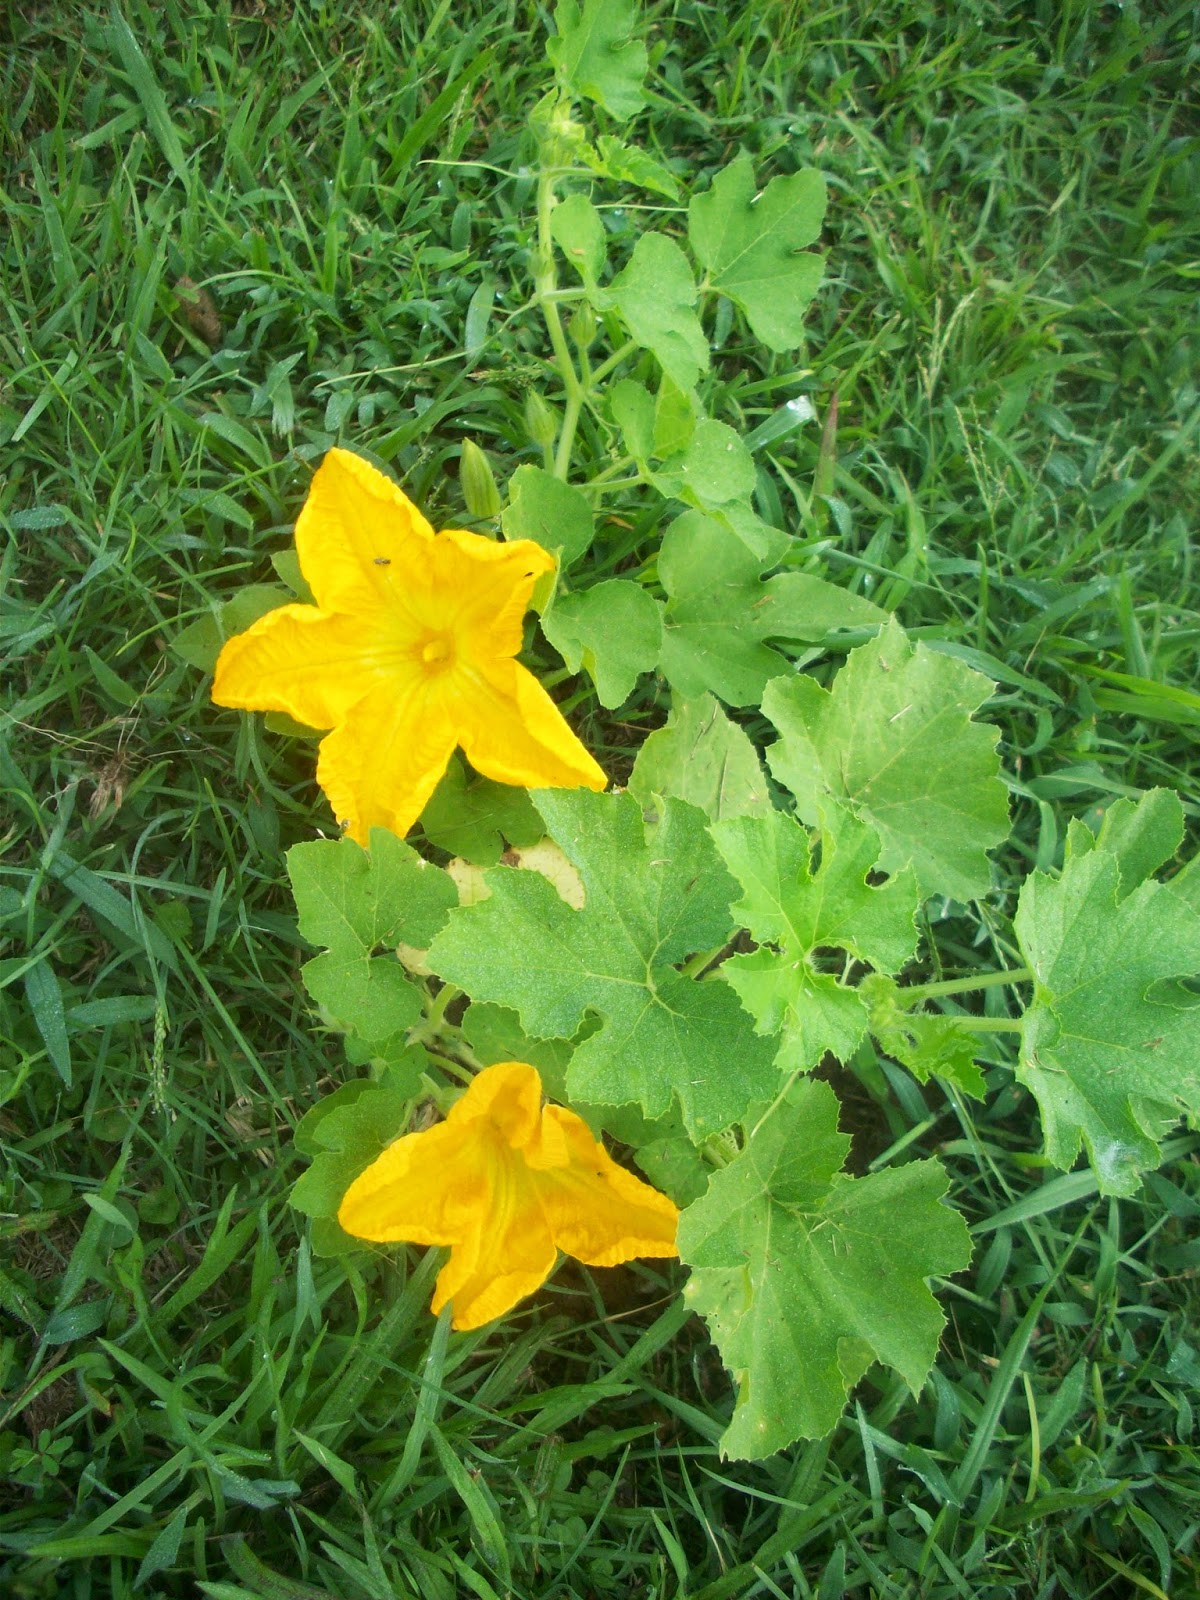
We thought it would be a lot of fun for our son to have a pumpkin patch on our property so we planted a row of pumpkin vines and we look forward to harvesting them this fall with friends and family.  But one thing I didn’t know about pumpkin vines is that their flower only remains open for twenty-four hours meaning that it only has one day to be pollinated to produce a pumpkin before the opportunity is lost.  Next year when we keep bees this won’t be an issue but right now I’m not sure if we will have a good pumpkin harvest this fall as I haven’t seen too many honey bees on our property, only the occasional sighting.  As a gauge I frequently check our butterfly bushes for honeybees but I haven’t seen any lately.


If you own land or a homestead I encourage you to keep bees on your property.  Doing so will increase your crop yield and you will be a part of saving the bees.  We plan to write a lot about our experiences with beekeeping next year and I hope that you will join us and/or chime in with your advice or questions.  Thanks for reading!

Sunday, August 10, 2014

A Table Top Fit for a Lumberjack

There is something to be said about building something from start to finish and doing it the old way— that is, without screws or nails.  A lot of people talk about doing a project from start to finish but is it truly “start to finish?” Where did the lumber come from?  Who milled it?  Who cut the tree down?  I can’t say that even the project that I am about to introduce you to is truly 100% start to finish by me, but it is as close as I could get.  Someone else made the stain in a factory, along with the glue and dowels (I will buy a dowel cutter one day!) but everything else so far has been cut and milled by me.  I would like to encourage you to do at least one true “start to finish” project in your life if you have the opportunity and resources.  It really is an amazing experience and the product is a true reflection of “you” and what you can accomplish.


Also, I must say that I am a little ashamed to admit that I am not done building with this table yet; the table top itself is complete and finished but I still have to attach the legs.  Not to make excuses, but moving and starting our homestead has placed this table on the back burner. Still the project is far enough along that I can share with you the process of building a beautiful table top from scratch from start to finish.  Before we get started I would like to thank Mike for letting me cut the tree down on his property and to Chris for helping me run the mill and haul the lumber— thank you guys!

I’m going to try something a little different here and use mostly pictures in this post rather than words.  Words can sometimes complicate things and I think that the pictures we took are good enough to show you the whole process.  Go ahead and head down to your workshop and sharpen up those saw chains; you will be doing a lot of work with the chainsaw and a good sharp chain is necessary for this project (please read our post on files).  After sharpening go out to the woods and select and good, solid and live tree to fell and mill.  This particular tree was a red oak and had a severe front lean to it which is why Mike wanted the tree removed.  The lean on the tree was so severe that it fell a little faster than I expected it to, despite having a lot of hinge wood remaining as you can see here.


Next, cut the tree into sections long enough for you to mill boards out of.  My table ended up being five feet long and I cut my logs eight feet long.  Red oak is real bad about checking (splitting) and even with the boards at eight feet long I only was left with five feet of usable material.  Keep this in mind when you mill lumber for your table.  Checking occurs when water rapidly evaporates out of the wood and about ninety percent of the water evaporates out of the ends, not the top.   I did not do is paint the ends of the lumber, I should have.  If you paint the ends it before the drying process it will greatly reduce the amount of checking in your lumber.

After you are done bucking (cross cutting) the tree into sections, move the sections into a good flat area where you can mill them and begin milling the lumber.  Set your mill to the proper thickness that you would like your table to be— just remember that the thicker the lumber the heavier the table will be.  I milled this tree at one and a half inches, being it was solid oak, to cut back on weight.


Once all of the lumber is milled, store it so that it will dry evenly; if you are lucky enough to have a lumber kiln then the drying process for you will be much quicker.  I used four chainsaw milled boards for this table; three for the table top itself and one to rip cross members out of for additional support on the bottom of the table.


After the wood was dry I selected the three best boards for the table top.  I left the live edge in tact for the outside edges of the table but I ripped down the adjoining edges using my Milwaukee circular saw, using a ripping blade.


A table saw would have been better but I don’t currently own one and the circular saw did just fine.  Next you will glue and dowel the lumber together using a dowel jig and clamps.  Remember to take your time here when drilling the holes for the dowels; if the dowel holes are even just a hair off the pieces WILL NOT go together.  I spaced my dowels six to eight inches apart and I used 3/8” dowels. 


Then glue and clamp two boards together.


And then three.


Next, flip the table over and dowel, glue and clamp the middle cross member to the bottom surface of the table.


Once this is complete, trim off the edges of the table with your circular saw and attach the two remaining cross members near the edges using dowels and glue; clamp them in place and let them dry.


Now you are ready to sand the table down and smooth out the edges with your sander or router.  Here the table’s final shape is achieved.


After you are satisfied with your sanding job apply the stain.  A hand rubbed stain is best, finished with several coats of polyurethane or Liquid Glass/Bar Coat.  This completes the table top itself and the legs will be attached to finish the table.  I’ll show you how to do this in a later post when I am ready to attach the legs.  I know that I didn't go into too much detail in this post but this post builds on some of the previous ones and if you have any questions about the process please feel free to leave them in the comment box.   Thanks for reading and I hope your project turns out great!


Saturday, August 9, 2014

Building Work Ethic and Firewood Racks

Lady winter is on her way and if you are like us and plan to heat your home using a wood burning insert or wood burning stove then your firewood preparations should be well under way.  But storing a winter’s worth of firewood requires a lot of space and proper firewood racks.  A firewood rack not only has to be strong enough to support the tonnage of wood that will be supported by it but it also has to be stable and safe; a heavy stack of firewood falling on someone, especially a child, could result in a serious injury.  To accomplish all of this you don’t need to spend a lot of money, however.  A lot of companies sell firewood rack kits ranging from thirty-five dollars to fifty-five dollars but even then you still have to purchase the 2x4’s for the frame rails, further adding to the cost.  I don’t know about you, but spending sixty dollars on a wood rack is a lot of money and I don’t have money to burn, just lots of firewood.  The one my wife and I built, featured here, costed about thirty dollars total and was simple to build.


First, start by cutting the 2x4’s that will determine the width of the rack; I call these boards runners because they run from end to end.  You can make them as wide as you want them to be; obviously the longer the boards are the more firewood you will be able to store on the rack.  I cut my runners to five feet because I had a space in between my garage doors that was just over five feet wide and it was the perfect spot for storing firewood.  To increase the amount of firewood that this particular rack was able to store I constructed a double-rack, consisting of two sets of runners.  This rack design allowed us to stack two sets of firewood in the same area.


Next you will cut two 2x4’s that will screw onto the ends of your runners.  We will call these “end” boards since I don’t haven anything cool or creative to call them.  But how do you determine how long these boards will need to be?  Well, a properly cut piece of firewood is approximately fourteen to sixteen inches wide so your runners should be spaced about ten inches from each other (interior surface to interior surface) which will provide for a couple inches of over hang for the firewood on each side, creating a stable platform.  If you build a double-rack like ours then you will also need to add about eight inches in between the two sets of runners to provide ample space in between the two stacks of firewood.  Once you determine what length to cut your 2x4’s, add four inches to that measurement.  This will allow the 2x4’s to extend past the outside edge of your runners by two inches on each side, which will help stabilize the rack.  For extra stability you can cut your end boards even longer, allowing for more extension.


Once you have figured out all of your measurements and you have completed all of your cuts, pre-drill the holes for your screws.  I always use galvanized deck screws in my exterior projects and I also countersink/recess all of the holes.  Additionally, for anything that I build that is going to be seen by a lot of people I go the extra mile to finish turning the screws by hand such that all of them are facing the same direction.  It’s the little attention to detail things that separate the men from the boys when it comes to working with your hands and you can tell a lot about a man’s work ethic when you look at his finished product.  Is the work sloppy?  Are some screws recessed deeper than the others and are they all facing different directions?  Or is everything built with precision, pride and attention to each little detail?  Maybe it’s my OCD kicking in but small things like that mean a lot to me when I buy or build a product.  Anything I build or put my name on is 100% my best work.  It may not be perfect, nothing ever is and we all make mistakes but it is always the best that I could do, no less.  I would be ashamed to build something for myself or someone else that I didn’t put 100% into.


Now then… go ahead and screw the runners onto the end boards, leaving the two inch overhang at each end.  Once that is complete you will cut two 2x4’s (or four if it is a double-rack) that will screw into the rack vertically and will prevent the firewood from falling off the ends of the rack.  These can be as high or as low as you want them but do not stack the firewood any higher than these boards as it will create a safety issue.  Once again pre-drill your boards and screw them into the rack such that they are centered in between the runners.  If this is a double-rack you will screw these boards to the outside of the end boards and if it is a single-rack you will screw them into the inside edge of the end boards.  If you are screwing them into the inside of the end boards then you will need to account for this when you are cutting your runners as you will be loosing about three inches off of your width and you will need to compensate for this by cutting your runners three inches longer.  You will notice some play in these vertical 2x4’s even though they are screwed in tight.  You can stabilize these by adding some bracing- essentially blocking the them in by screwing in additional 2x4’s around them.  This is why it is important to secure the vertical boards to the inside edge of the end boards if it is a single-rack because it is a lot easier to properly brace the vertical boards by simply running a brace board in between the two runners, which will lock in your vertical board.  I realize that this is a bit wordy but it will make sense when you are building it and you see what I am talking about.  Also, if you scroll back up to the first photo in this post you will see how I braced in the vertical boards by adding a 2x4 in between them (bottom of the photo) and by adding an extra end board to each side.


Now the only thing left to do is to stack all of your firewood.  They say firewood warms you twice.  Once when you are splitting it and the other time is when you are burning it.  I don’t think this is true.  I think it’s more like three times because stacking it is hard work too!  As always, thanks for reading.

Thursday, August 7, 2014

Crabapple Jelly!

Let me introduce to you crabapple jelly, yes you heard me, crabapple! That beautiful tree that blooms these wonderful blooms in spring and produces these tiny TINY apples that taste like the most awful, sour, disgusting apples you have ever tasted.  Yes, those horrible little apples make a wonderful, delicious (can't stop eating it) JELLY!


My neighbors are amazing, the best neighbors you could hope for.  They keep their yard and house clean and tidy, updating it as needed.  They have taken us under their wings and love us like family; my little rugrat even calls them Nana and Papa!  They keep a garden and fruit trees and love to share the bounty of their labor (yay for us).  They helped me put up tons of apples for the fall and taught me a lot about canning, preserving and being extra frugal.  After helping them install a garage door one morning they asked the rugrat and I to stay for lunch. She made fresh biscuits and gravy from scratch, scrambled eggs and cooked sausage, all in under 20 minutes, a real pro!  Well mid way through the meal she pulled out a can of this beautiful pink jelly saying she made is the past summer from the apples from her crabapple tree.  I'd be lying if I told you I wasn't apprehensive, after I tasted a very small bite (to be courteous) I was over the moon in-love with this jelly!! I almost ate half the jar! I kept an eye on her tree this year waiting on the apples to ripen and when they did the rugrat and I helped pick the tiny apples and our neighbor said she would set some aside for me to make jelly for myself!  I was so eager and excited, I wanted to plant a whole orchard of crabapple trees!

So here is how we did it...grab the canning and preserving book from 1991(ish) and flip to the crabapple jelly recipe....don't have the book? Me either...

What you will need:

Apples
Water
White sugar

Wash and de-stem your apples and cut off the blossom bottom and cut in half, no need to core, deseed or skin the apples, leave all that!

Dump the apples in a large pot and pour water just covering the apples and bring to a boil. Cook apples till soft, and mash them just a little.

Strain apples into a bowl or jar (I prefer a jar, that way you can see how it seperates).  Compost or discard mashed apples.

Measure 4 cups of apple juice and 4 cups of sugar and bring to a boil, stirring frequently (to get clear and pretty jelly allow apple juice to sit overnight and the thick pulpy water will settle, don't use it and don't shake, your jelly will be cloudy, if you don't have time this will not alter the taste. Pour from jar only the clear pink juice from the top).

Bring apple juice and sugar to a boil and cook until it "sheets" from the spoon. (If you are a beginner like me, and don't really know what "sheets" means, I'm with you. The mixture will thicken after 10-15 minutes of boiling and should slide off the spoon like a sheet.  You will see it start to thicken after about 10 minutes, keep cooking, otherwise your jelly will be soupy.)

Once it sheets off the spoon remove it from the heat and pour into the canning jars. Seal tightly and can in a water bath for 5 minutes.

Enjoy! I made two batches and got 3 pints and 4 half pints. Wish I had more apples, I'd make 6 more batches!


*only make one batch at a time, otherwise it might not set right or at all!


Wednesday, July 30, 2014

Homestead Update

So we thought we would give you a little update about how things are going on our homestead since we have been here.  We moved into our homestead in March of 2014 and most of our projects have been home improvement type stuff but we have started some homesteading projects.  Currently we have been only maintaining two of the seven acres, letting the other five grow natural for now until next year and we have seen tons of honeybees tending to the wildflowers that are growing out there, which is exciting for us as future beekeepers.  Liz and I have also discussed purchasing some of the surrounding lands, acre by acre, if finances allow so we can one day expand our homestead.


Liz has been hard at work canning, preserving, propagating crops and planting various fruit bearing plants and trees.  So far we have planted muscadines, fig trees, blueberry bushes, tomato plants, a peach tree and a plum tree and some butterfly bushes for our bees next year; unfortunately one of the blueberry bushes has died and the peach tree is in rough shape as well.  We are trying to plant as many of the perennial fruit bearing plants, bushes and trees as we can in the first few years, with much of the trees being planted this coming fall.  Liz has also processed (cored and sliced) about thirty pounds of apples and has filled four one-gallon bags of blackberries, which were harvested from our field- all of which are stored in our freezer.  She has canned five jars of apple butter and two jars of pesto and two jars of tomato and has additional canning to do this week and next week.


Our firewood supply is off to a decent start for this winter.  I built a small firewood rack out of some left-over lumber treated wood I had and filled it with red oak and poplar.  This weekend we will cut more firewood and I’ll be building another and even larger rack.  Hope to at least get one cord of firewood this weekend (one cord= four feet high by eight feet long by four feet deep) and we will be installing a wood-burning insert into our fireplace this fall to heat our home this winter.  My goal is to run the heater as little as possible, if at all, this winter and just heat the house with firewood, though I don’t know if our wood supply for this year will allow us to do so. 


Other than that not much else has been going on around here homestead wise.  We are trying to make our old home more efficient and we had insulation blown in our attic to help keep the place stay cooler during the day.  I haven’t completed our rain barrel collection system yet and it bothers me every time I walk past the downspouts that would empty into the rain barrels that I haven’t purchased yet.  It will be nice when we get it up and running though, and it will save us a lot of money in the long run when it comes to watering plants.  


If you are interested in carpentry and beekeeping please keep following us; we have a lot of carpentry projects coming up this fall and winter to include our chicken coop project, fence replacement and building some hive stands for our beehives, along with a lot of other carpentry projects.  This fall we will start preparing for our first bee season which we will start around March of 2015.  I have a feeling 2015 will be a very interesting year and we hope that you will join us.  Thanks for reading!

Friday, July 25, 2014

Man of Stihl: A Short Overview of Stihl Saws

Trees are beautiful.  The trees that I enjoy looking at the most are the one’s burring in my fireplace on a cold winter day, keeping the house nice and toasty!  Contrary to popular belief you don’t have to be a nut and berry eating tree-hugger to be a homesteader.  You use the resources available to you from the land as part of your preparations to include firewood for the winter.  This will mean you will need the proper saw for the job.

Just as a quick disclaimer, Stihl did not endorse me for this product review; I wanted to review them on my own accord because I believe they build a top-notch machine.  I want to save you the time, money and aggravation of buying a low quality machine that will fail you.  I’ve been there when a low quality tool fails and it costs twice as much money and time to get the job done.  This won’t be the case with Stihl products.

So why Stihl?  I love both Stihl and Husqvarna equipment and we run both on our seven acres.  You really can’t go wrong with either. But there are a few things to consider. Stihl is a German company and Husqvarna is a Swedish brand.  The first thing to consider is parts and service; there are more certified Stihl mechanics in the United States than Husqvarna mechanics and parts for Stihl are also more readily available.  Second is durability.  Husqvarna, once again is an outstanding product and it seems that they produce higher RPMs (Revolutions Per Minute) in the wood, resulting in a faster cut.  However, it seems to me that Stihl puts a lot more emphasis on durability and their saws seem to have more metal components than that of the other competing brands.  When you pick up a Stihl chainsaw it feels like a saw should.  You can tell you have picked up a well built and powerful machine when you pull it off of the shelf.


The first thing that you will notice about your Stihl saw is that there is only one selector lever to the left of the throttle that controls the saw as opposed to separate controls.  On the professional models, and some of the farm models, there is a decompression valve that you depress before starting the saw so that you won’t be pulling against the compression of the engine during starting.  My Stihl saws always start up without any issues and they run all day just as well.  The newer Stihl saws are equipped with quick-release fuel and oil caps.  Some people don’t like the quick-release system but after some getting used to they are actually pretty convenient.  Most of these features you will notice on the Husqvarna saws as well, just in case you are leaning towards one of their products.

One of the features I like the most about Stihl saws is the inboard clutch.  The clutch on Stihl saws are on the inside of the chain as opposed to the chain running in between the body of the saw and the clutch such as on a Husqvarna.  This is a great feature because it is much easier to remove and install the chain and bar because the chain does not have to be maneuvered around the clutch.  It also makes installing the clutch cover much easier because their are less parts to line up upon installation.  There is one advantage to an outboard clutch, however, and that is that they tend to get bogged down less because there is plenty of space for the wood chips to clear the clutch.  This rare problem with the inboard clutch is cleared easily though, by revving the saw while manually rolling the chain across a log until the chain begins to spin under the power of the engine.


I guess this turned out to be more of a recommendation for both Stihl and Husqvarna… whichever brand of saw you choose you can’t go wrong.  Before you know it you will be sitting around a warm fire with wood you cut yourself.  Remember, be safe and thanks for reading!